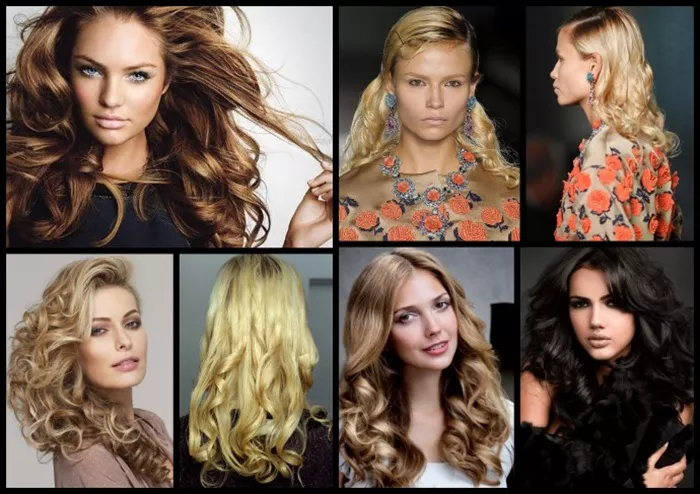
Curls add volume, texture, and personality to any hairstyle. While tools like curling irons or hot rollers are popular, styling gel remains an underrated hero for achieving defined, long-lasting curls. This article dives into professional techniques for creating curls with styling gel, addressing common challenges and sharing insider tips. Whether you have straight, wavy, or coily hair, this guide will help you master the art of curl formation using a product that’s likely already in your bathroom.
Why Styling Gel Works for Curls
Styling gel is a water-based product that provides hold, reduces frizz, and locks in shape. Unlike mousse or hairspray, gel creates a flexible cast around hair strands, making it ideal for curls that need structure without stiffness. The key lies in its polymer formula, which binds to hair fibers to maintain shape while allowing natural movement. For curls, this means definition that lasts all day without the “crunchy” feel—if applied correctly.
The best gels for curls are alcohol-free to prevent dryness and contain moisturizing agents like glycerin or aloe vera. Avoid heavy gels if you have fine hair, as they can weigh curls down. For thick or coarse hair, stronger-hold gels work better to combat frizz and maintain shape. Always check the product label for terms like “flexible hold,” “curl definition,” or “humidity resistance.”
Preparing Your Hair for Curls
Start with clean, damp hair. Wash with a sulfate-free shampoo and conditioner to maintain moisture—dry hair resists holding curls. Towel-dry gently, leaving hair about 70% damp. Never apply gel to soaking-wet hair, as it dilutes the product, nor to fully dry hair, as it causes uneven distribution.
Section your hair into 4–6 parts using clips. Smaller sections create tighter curls; larger sections give loose waves. Use a wide-tooth comb to detangle, then apply a heat protectant if using hot tools. While gel itself isn’t a heat protectant, combining both ensures safer styling.
The Step-by-Step Curl Creation Process
Take a pea-sized amount of gel (adjust based on hair thickness) and rub it between your palms. Smooth it evenly over one section of hair, focusing on mid-lengths to ends—roots need less product to avoid greasiness. For defined ringlets, twist small subsections clockwise from root to tip. For beachy waves, loosely wrap larger sections around two fingers.
If using heat, set your curling iron to 300–350°F (150–175°C). Clamp a gel-coated section, hold for 8–10 seconds, then release. Let the curl cool on your hand before dropping it—this “sets” the shape. For heat-free styling, roll gel-covered sections into flexi rods or braid hair overnight. The gel will harden slightly as it dries, locking the curl pattern.
Once all sections are styled, avoid touching curls until fully dry. Speed up drying with a diffuser on low heat, hovering it around your head to prevent frizz. When hair is 90% dry, scrunch gently to break the gel cast and create softness.
Common Mistakes That Ruin Gel-Based Curls
Overloading hair with gel is a frequent error. Too much product causes stiffness, flakes, or limp curls. Start with a small amount—you can always add more. Another mistake is applying gel unevenly. Gloss over strands like you’re painting them, ensuring every layer gets coverage.
Skipping the “scrunching” step leaves curls rigid. Once dry, gently squeeze curls upward with dry hands or a microfiber towel to restore bounce. Avoid combing curls after styling, as this separates the gel’s hold and creates frizz. Use fingers instead to reshape.
Using the wrong gel type also backfires. High-hold gels suit intricate curls but feel heavy on waves. Low-hold gels refresh natural curls but fail to shape straight hair. Test different brands and observe how your hair responds to humidity or time.
Conclusion
Styling gel is a versatile, budget-friendly tool for creating curls that last all day. The secret lies in choosing the right product, applying it to damp hair in moderation, and using techniques that complement your hair type. Whether you prefer heat-assisted curls or natural air-dried waves, gel provides the structure needed to keep your style intact. Remember: less is often more, and patience during the drying process pays off. With these tips, you’ll transform basic styling gel into your go-to curl solution, achieving salon-quality results at home.
Related topics:
How to Style Natural Curls for Effortless Beauty?
The Best Natural Ways to Make Straight Hair Curly
How Can You Master Your Natural Curls?


