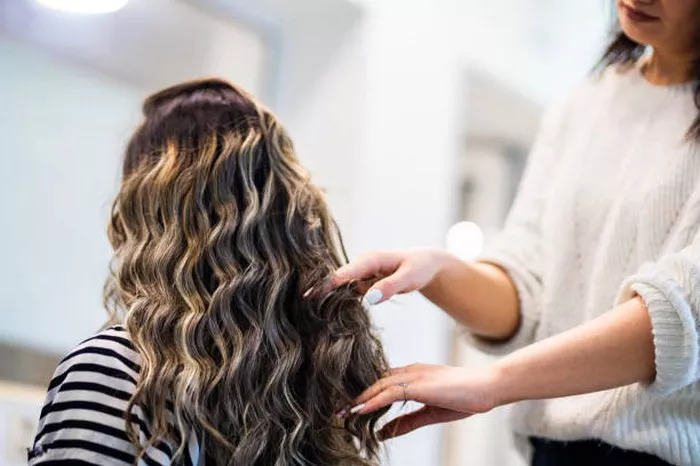
Curly hair has a natural beauty that looks best when properly shaped and layered. A good layering technique enhances curls, removes bulk, and gives the hair a well-balanced structure. Trimming curly hair requires specific methods to avoid unwanted shrinkage and unevenness. In this guide, we will explore how to trim girls’ curly hair to make it more layered while preserving its bounce and definition.
Understanding Curly Hair and Layers
Why Layer Curly Hair?
Layers play an essential role in curly hairstyles because they:
- Reduce bulk while maintaining volume.
- Enhance curl definition and movement.
- Prevent the “triangle effect” (when curls look heavy at the bottom and flat at the top).
- Create a balanced and flattering shape.
Types of Layers for Curly Hair
Different layering techniques work best for various curl patterns. Here are the most common types:
- Long Layers: Great for looser curls and waves, offering movement while keeping length.
- Short Layers: Work well for tighter curls to create volume and lift.
- Face-Framing Layers: Add softness and highlight facial features.
- Graduated Layers: Help shape the overall cut and add a natural cascade effect.
Tools and Preparation
Before you begin trimming, gather these essential tools:
- Sharp professional shears
- Sectioning clips
- Wide-tooth comb
- Spray bottle with water
- Curl-enhancing leave-in conditioner
- A mirror for checking balance and shape
Preparation Steps
- Start with Clean, Conditioned Hair – Wash and deep condition the hair before trimming.
- Detangle Gently – Use a wide-tooth comb to remove knots, working from the ends up.
- Assess Curl Pattern – Determine how the curls fall naturally and identify areas needing layering.
- Decide on the Layering Technique – Choose the best type of layering based on hair thickness and curl pattern.
Step-by-Step Guide to Layering Curly Hair
Step 1: Section the Hair Properly
- Divide the hair into four sections: two in the front and two in the back.
- Use sectioning clips to keep the hair organized and manageable.
- Work on one section at a time to ensure even layering.
Step 2: Trim the Ends First
- Start by dusting the ends (trimming only damaged tips) to maintain healthy hair.
- Trim no more than ¼ inch at a time to prevent excessive length loss.
- Keep in mind that curly hair shrinks when dry, so avoid cutting too much while wet.
Step 3: Create the First Layer
- Take a small section from the top crown area.
- Hold it at a 90-degree angle and cut off about ½ to 1 inch to create the shortest layer.
- This section will set the foundation for layering the rest of the hair.
Step 4: Blend the Layers
- Move to the next section, lifting the hair at an angle.
- Trim gradually to create a cascading effect.
- Always trim less than expected to allow for natural shrinkage.
Step 5: Add Face-Framing Layers
- Pull small front sections forward and determine where you want the shortest layer to fall.
- Cut in a downward motion using the point-cutting technique to maintain softness.
- Blend the layers into the rest of the hair for a seamless transition.
Step 6: Check for Evenness
- Release all sections and shake out the curls.
- Look for any uneven spots or heavy areas.
- Trim as needed to balance the shape without over-cutting.
Tips for a Perfect Layered Curly Cut
1. Cut Hair When Dry for Accuracy
Cutting curly hair when dry ensures the layers fall correctly and prevents unexpected shrinkage.
2. Use the “Curl by Curl” Method
For tighter curls, trim each curl individually to maintain its natural pattern and avoid frizz.
3. Avoid Razor Cutting
Razors can cause frizz and disrupt the natural curl structure, leading to split ends and uneven textures.
4. Trim Conservatively
Since curly hair naturally bounces up, always cut less than you think is necessary.
5. Use Point Cutting for Softness
Point cutting (snipping vertically into the ends) helps blend layers and maintain a natural, airy finish.
6. Moisturize Before and After Cutting
Hydration is key to keeping curls healthy. Use a curl cream or leave-in conditioner after trimming.
Aftercare for Layered Curly Hair
1. Hydrate Regularly
Use sulfate-free shampoos and deep conditioners to maintain moisture.
2. Refresh Curls Between Washes
Spray water and use a light curl cream to revive curls on non-wash days.
3. Trim Every 3-4 Months
Regular trims prevent split ends and maintain shape.
4. Protect Hair While Sleeping
Use a silk or satin pillowcase to prevent frizz and maintain curl definition.
Conclusion
Trimming girls’ curly hair to create layers requires patience, precision, and the right techniques. By following these steps, you can achieve a beautifully layered look that enhances the natural curl pattern and reduces bulk. Remember to trim conservatively, respect curl shrinkage, and focus on hydration to keep curls looking their best. Whether done at home or by a professional stylist, a well-executed layered cut can transform curly hair into a voluminous, well-defined masterpiece.
Related Topics:
How To Keep Curly Hair From Losing Shape
How To Cut Shoulder-length Straight Hair For Girls
How To Create Seamless Natural Curls


