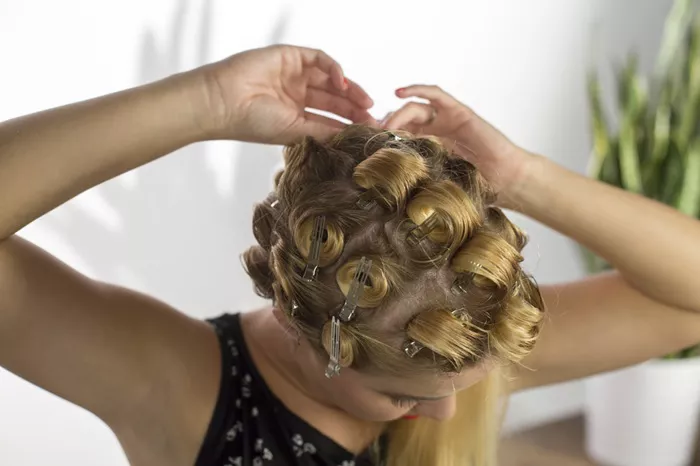
Perm rods are a fantastic way to add texture, volume, and curls to short natural hair. Whether you’re looking for tight coils or loose waves, perm rods can help you achieve a variety of styles. This guide will walk you through the process step by step, ensuring you get the best results while keeping your hair healthy.
Why Choose Perm Rods for Short Natural Hair?
Perm rods are versatile and work well on short natural hair. They allow you to create defined curls without using heat, which can damage your hair. Additionally, perm rods come in different sizes, so you can customize your look based on your personal style and hair texture.
Step-by-Step Guide to Applying Perm Rods
1. Start with Clean, Moisturized Hair
Wash and condition your hair to remove any buildup. Apply a leave-in conditioner or moisturizer to keep your hair hydrated. If your hair tends to dry out quickly, use a light oil to seal in moisture.
2. Section Your Hair
Use a rattail comb to divide your hair into small, even sections. The size of the sections will depend on the thickness of your hair and the size of the perm rods. Smaller sections create tighter curls, while larger sections result in looser waves.
3. Apply Styling Product
Apply a small amount of styling gel or mousse to each section. This will help hold the curls and reduce frizz. Make sure the product is evenly distributed from root to tip.
4. Wrap the Hair Around the Perm Rod
Take one section of hair and place an end paper at the tip. This prevents the ends from fraying. Starting at the tip, wrap the hair around the perm rod, rolling it toward your scalp. Make sure the hair is smooth and evenly distributed on the rod.
5. Secure the Perm Rod
Once the hair is fully wrapped, secure the perm rod by bending the ends inward or using a clip. Repeat this process for all sections of your hair.
6. Let the Hair Set
If you’re using a perm solution or setting lotion, apply it according to the product instructions. Otherwise, let your hair air dry or sit under a hooded dryer until it’s completely dry. This can take 1-2 hours, depending on your hair’s thickness.
7. Remove the Perm Rods
Once your hair is dry, carefully remove the perm rods. Start from the bottom and work your way up to avoid tangling. Gently separate the curls with your fingers for a more natural look.
8. Style and Finish
Apply a light oil or serum to add shine and reduce frizz. You can also use a pick or wide-tooth comb to fluff the roots for added volume. Finish with a satin scarf or bonnet to maintain the style overnight.
Tips for Maintaining Perm Rod Curls
Sleep with a satin scarf or bonnet to preserve the curls.
Refresh your curls with a water-based spray or leave-in conditioner.
Avoid heavy products that can weigh down your curls.
Reapply perm rods every 1-2 weeks to maintain the style.
Choosing the Right Perm Rod Size
The size of the perm rod determines the curl pattern. Here’s a quick guide:
Small rods (gray or purple): Create tight, bouncy curls.
Medium rods (red or blue): Produce soft, defined waves.
Large rods (yellow or orange): Give loose, voluminous curls.
Conclusion
Perm rods are an excellent way to add texture and style to short natural hair. With the right tools and techniques, you can achieve beautiful, long-lasting curls without heat damage. Experiment with different rod sizes and products to find the perfect look for your hair type and personal style. Remember to keep your hair moisturized and protected to maintain healthy, vibrant curls.
Related topics:
- A Definitive Guide to All Types of Perms
- How To Change Straight Hair To Curly Hair Permanently
- How Do You Make Nappy Hair Curly


