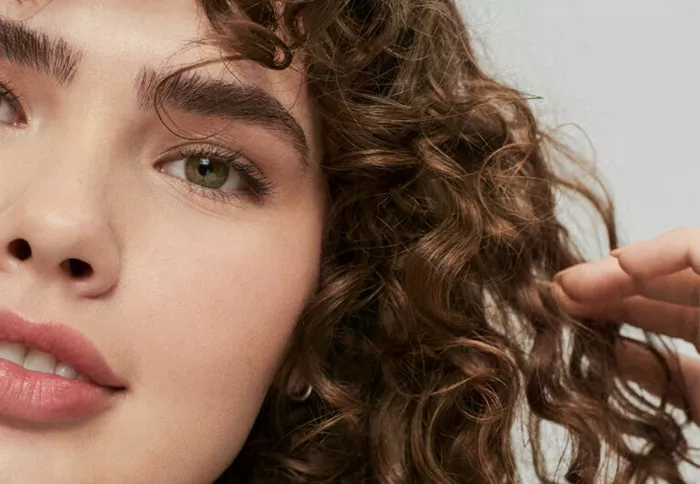
Styling gel is often associated with slicked-back looks or rigid hold, but it’s a secret weapon for creating long-lasting, defined curls. Unlike mousses or creams, gels provide a stronger hold, making them ideal for curly hair types that struggle with frizz or lose shape quickly. The key lies in the gel’s ability to form a flexible cast around each curl, locking in moisture and structure while allowing natural movement. For those with fine curls, gels with lightweight formulas prevent heaviness, while thicker gels work wonders for coarse or voluminous hair. Modern styling gels are also formulated with nourishing ingredients like aloe vera, flaxseed, or proteins, which protect hair from dryness—a common concern with alcohol-based gels of the past. Whether you’re enhancing natural curls or creating them from scratch, styling gel offers precision and staying power that other products can’t match.
To get the best results, start with damp hair. Water activates the gel’s polymers, helping it distribute evenly and form a smooth layer around each strand. Avoid applying gel to dry hair, as it can clump or leave a sticky residue. Section your hair into four to six parts, depending on thickness, and work from the bottom layers upward. Use a wide-tooth comb to detangle before applying product. For defined curls, rake the gel through each section with your fingers, ensuring every strand is coated. For looser waves, scrunch the gel upward from the ends. The amount of gel matters—too little won’t hold, and too much can create stiffness. Start with a nickel-sized amount per section and adjust as needed.
How to Apply Styling Gel for Perfect Curls
The application technique determines whether your curls look polished or crunchy. After washing, gently blot hair with a microfiber towel to remove excess water—it should be damp but not dripping. Divide hair into manageable sections using clips. Choose a gel suited to your curl goals: a strong-hold gel for tight coils or a medium-hold formula for beachy waves. Pour a small amount into your palms and rub them together to warm the product. Begin at the roots, gliding your hands down to the tips to ensure even coverage. Avoid piling gel at the roots, as this can weigh hair down.
For spiral curls, twist small sections around your finger after applying gel. For volume, flip your head upside down and scrunch the gel upward. If you’re using a diffuser, attach it to your blow dryer and dry hair on low heat while cupping curls in the diffuser basket. This minimizes frizz and speeds up drying. Let hair air-dry completely if possible—the longer it takes to dry, the stronger the hold. Once dry, resist the urge to touch your curls immediately. The gel will form a cast, which you can gently scrunch out with a drop of oil or by clapping your hands around the curls to break the crunch. This step is crucial for soft, touchable curls without sacrificing hold.
Common Mistakes When Using Gel for Curls
One major mistake is using the wrong type of gel. Heavy, high-hold gels can make fine hair look greasy or stiff, while lightweight gels might not tame thick curls. Always check the label for terms like “curl defining,” “flexible hold,” or “moisturizing.” Avoid gels with high alcohol content, as they dehydrate hair over time. Another error is applying gel unevenly. Globs of product in one area create patchy curls, while thin layers fail to hold. Consistency is key—aim for a smooth, even coat from root to tip.
Over-scrunching is another pitfall. While scrunching helps form curls, aggressive rubbing breaks the gel’s cast before it sets, leading to frizz. Instead, use an open-palm scrunching motion to lift curls without disrupting their shape. Skipping the “scrunch-out” step is also problematic. Leaving the gel cast intact makes hair feel hard and unnatural. Always break the cast once hair is fully dry. Lastly, reapplying gel to dry hair mid-day can cause buildup. If curls start to droop, refresh them with a mix of water and a tiny bit of gel in a spray bottle.
How to Make Gel-Based Curls Last All Day
To extend the life of your curls, start with a clean base. Clarifying shampoos remove residue that prevents gel from adhering properly, but don’t overuse them—once a week is enough. Follow with a moisturizing conditioner to keep curls hydrated. After applying gel, avoid touching your hair until it’s fully dry. The natural oils from your hands can weaken the gel’s hold. For extra staying power, layer products strategically. Apply a leave-in conditioner first, then a curl cream for moisture, and finish with gel. This “styling cocktail” keeps curls defined and bouncy.
Sleeping on cotton pillowcases can fray curls overnight. Switch to a silk or satin pillowcase to reduce friction. If your curls lose shape by day two, revive them with a steam treatment. Hold a clothes steamer a few inches from your hair or hover your head over a bowl of hot water, then scrunch gently. Avoid brushing curls, as this separates the strands and creates frizz. Use a wide-tooth comb only when necessary, and always reapply a small amount of gel afterward.
Conclusion
Styling gel is a versatile, underrated tool for anyone seeking defined, long-lasting curls. Its strong hold and customizable application methods make it suitable for all curl types, from loose waves to tight coils. The trick is choosing the right formula and mastering the balance between product amount and technique. While it requires patience—especially during the drying phase—the results are worth it. Healthy, hydrated hair will always hold curls better, so pair gel with regular deep conditioning treatments. Experiment with different brands and application styles to find your perfect match. With practice, you’ll discover that styling gel isn’t just for slick looks—it’s the secret to effortless, all-day curls that bounce and shine.
Related topics:
How to Do 2 Buns with Long Hair
What Are the Best Expert-Approved Ways to Style Long Curly Hair?


